Microsoft Word is, probably one of the most popular writing software or application. Its advantage lies in how easy it is to use and the more current versions offer users a plethora of tools to enhance the files they’re working on.
Microsoft Word Terminology
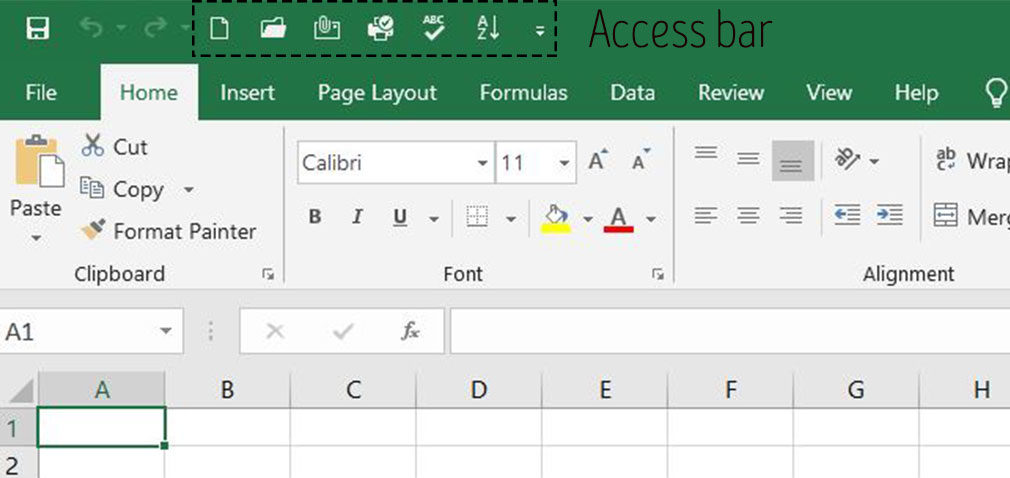
1) Quick Access Bar
This gives a number of file saving options, editing and formatting tools, change how your document layout and even insert images and other media.
2) Blank Document Space
This is the empty area just under the Access Bar, where text appears as you type it. Towards your right, you’ll see the scrolling bar and at the bottom, you have the Zoom Controls
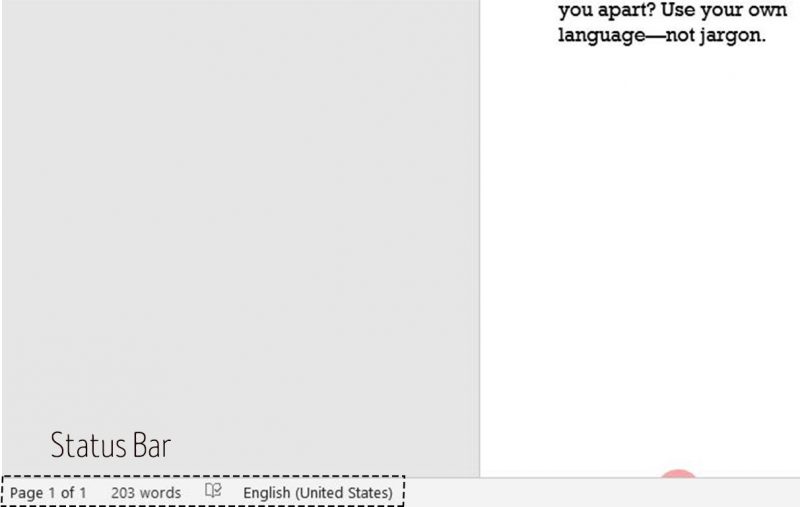
3) Status Bar
This offers you the current information on the document you’re working on. So here, you will see page numbers, word count on the left of this bar. On the extreme right, you have the document display settings, zoom slider bar.
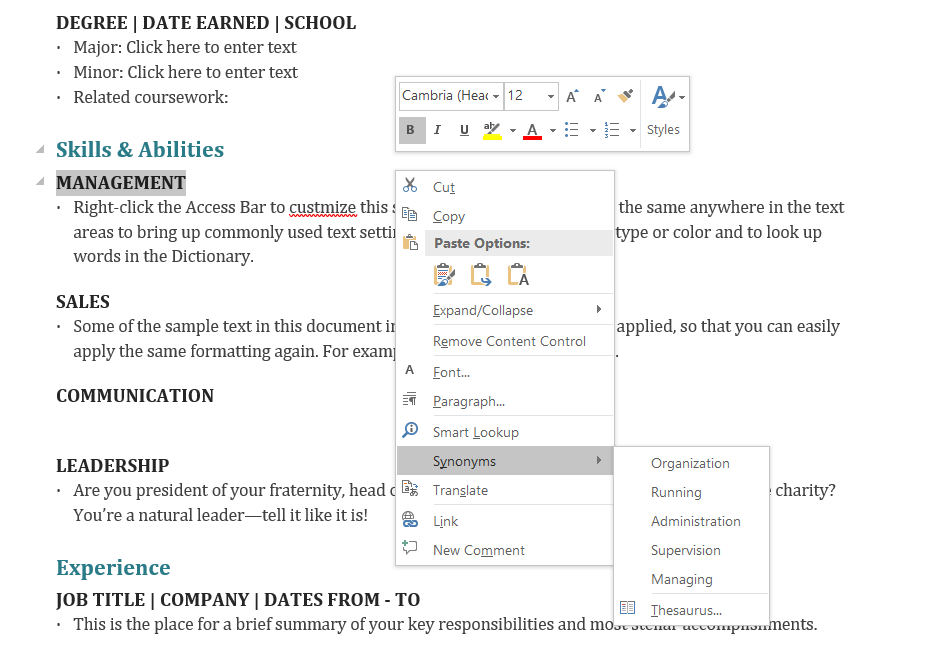
4) Hidden Right-Click Extras
Right-click the Access Bar to customize this section of Microsoft Word. Do the same anywhere in the text areas to bring up commonly used text setting like formatting, fonts style type or colour and to look up words in the Dictionary.
The plus point of Microsoft Word is that it allows you to insert media to enrich your document. This can be a graph, presentation, videos, photos, GIFs and images. Its an easy process too, usually just six steps in all, maybe even less if you’re using Windows 10. The instructions shown here are for Microsoft Word 2010, 2007 and 2003.
How to insert images in Microsoft Word
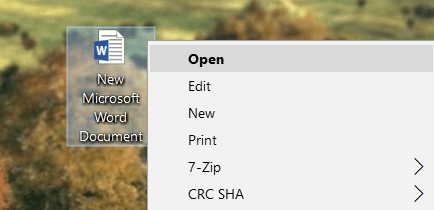
Step 1) Load or open the Word file you want to add images too.
Step2) Once you’ve done that, scroll down to the part of the file where the image has to go. If the file already has text, you may need to press the Enter key to create a space for the image.

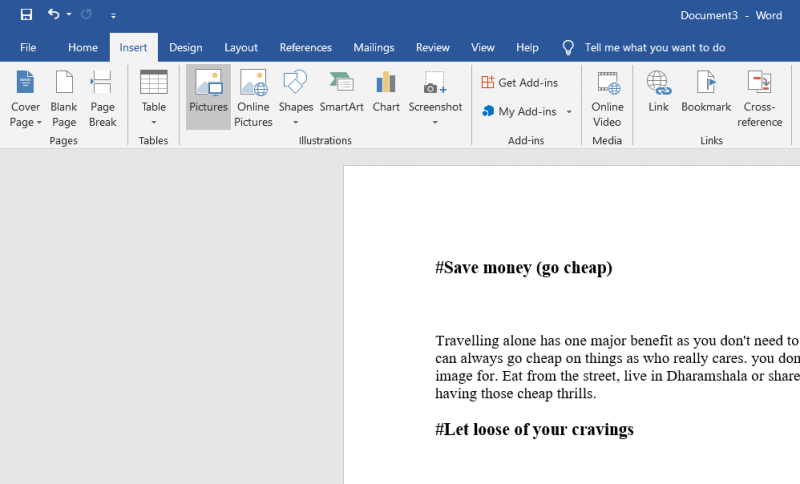
Step 3) Go to the Quick Access Bar and look for the ‘Insert’ or ‘Insert Picture’ option usually given on the top right-hand corner. Click on it and a dialogue box will appear. This lists out all the drive and the desktop, look for the image, then click Insert to upload it.
Note: This part differs slight across versions 2010, 2007 and 2003.
- In Word 2003, choose the Picture option from Insert. Now click on ‘From file’ and finally the ‘Picture’.
- In Word 2010 and 2007, you might have to go to ‘Picture’ given on an ‘Illustrations’ section under the Insert menu. Now, search for the image file you want; it might show up on the dialogue or you can type in the name of the file. Once you have what you need, click on it and press Insert.)
Step 4) Finally, modify and crop the image to fit your file. Click on the image to reveal the handing dots. Place the cursor directly on the edge of the image until it turns into a double cursor. Then drag the image vertically, horizontally.

Step 5) Done. To crop the image, go to the ‘Picture Tools Format’ in 2010 and then to the ‘size’ option. In 2003 and 2007, choose ‘Crop’ from the ‘Picture Toolbar’.
Extra Tips
- If you’d like to remove an image, highlight it and hit the Delete button or right-click to bring up the Context Menu and select delete.
- An easy way to place an image side by side with a caption/text description is to use a table with two columns. Place text in one cell and the image in the other. Then add more rows as needed. Remove the border and you have a neatly aligned word file.
- When moving around an image inside, you’ll notice the text gets messed up. To prevent this, click on the image and look for the layout icon. This lest you decide how the text fits around the image.